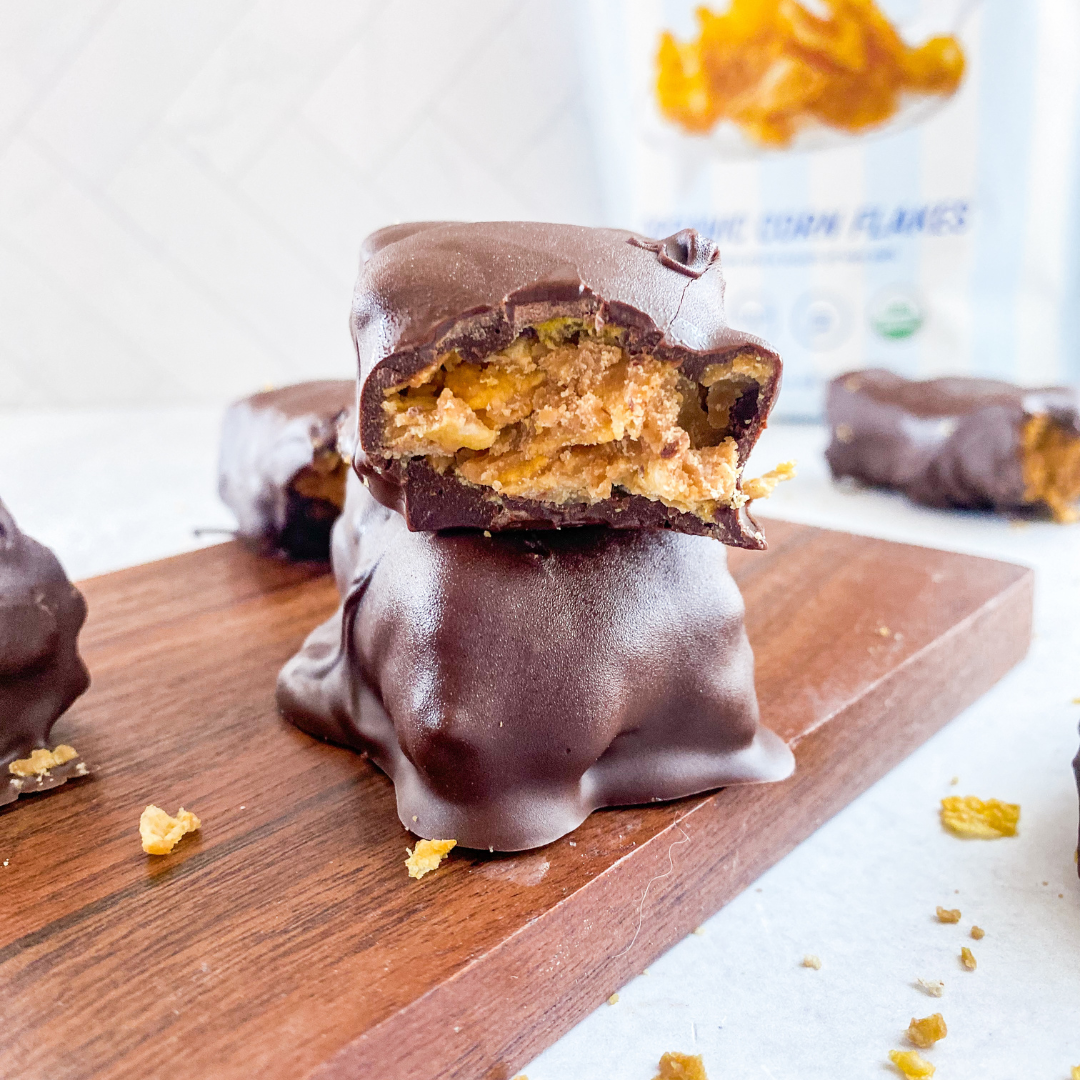
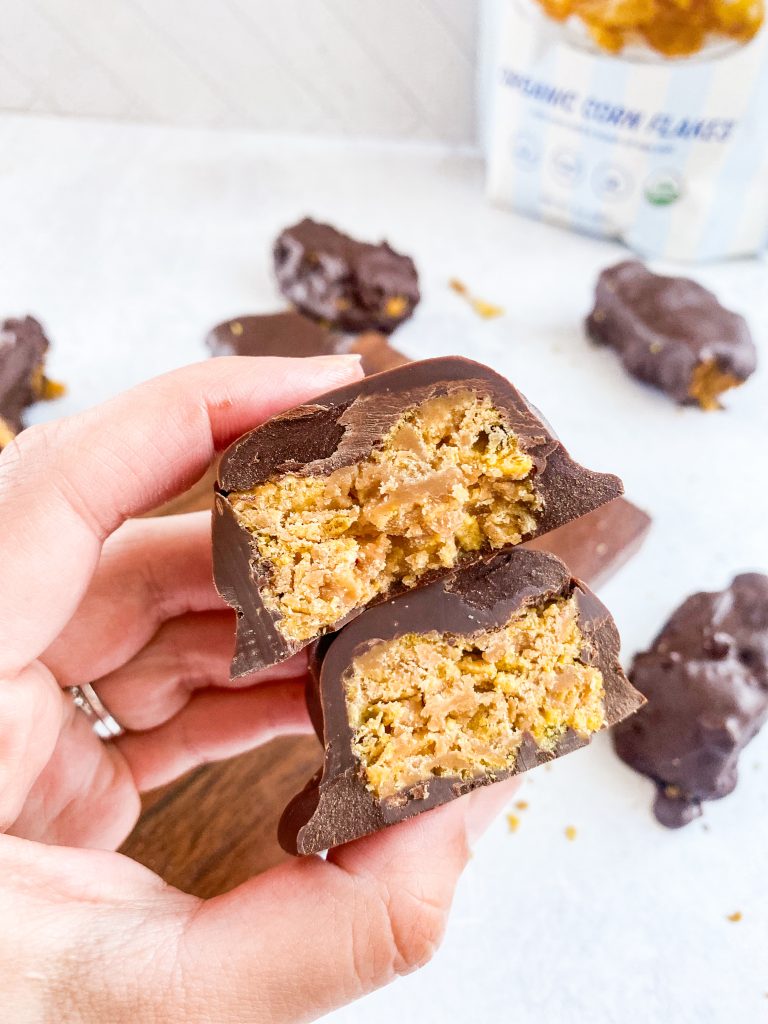
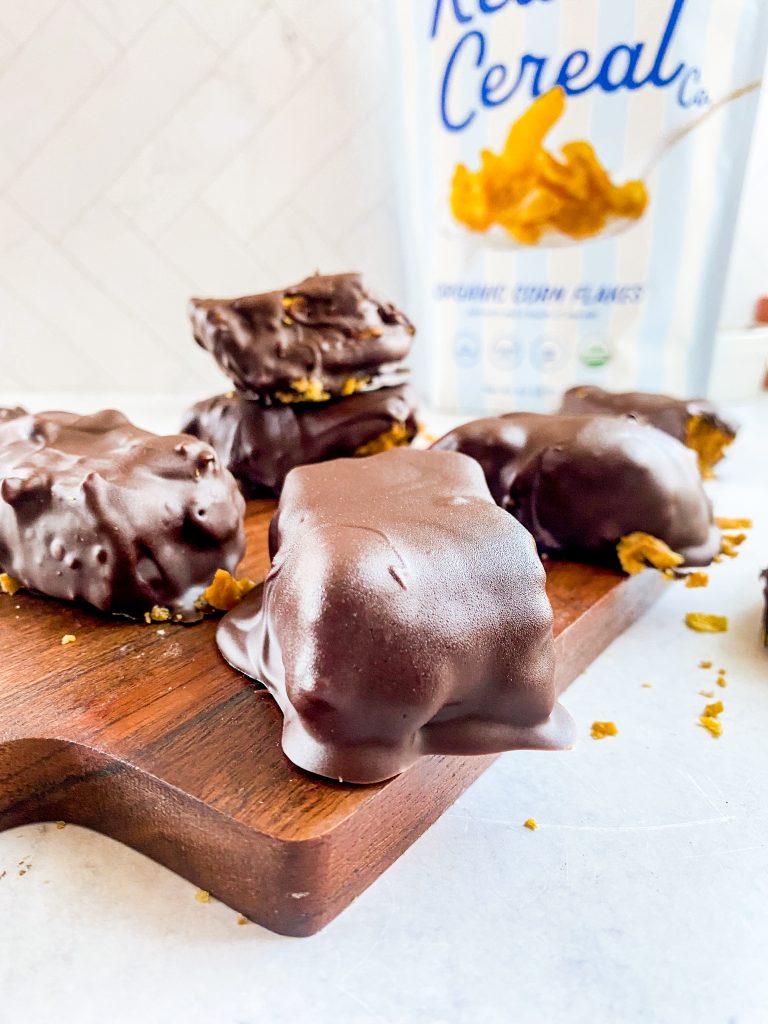
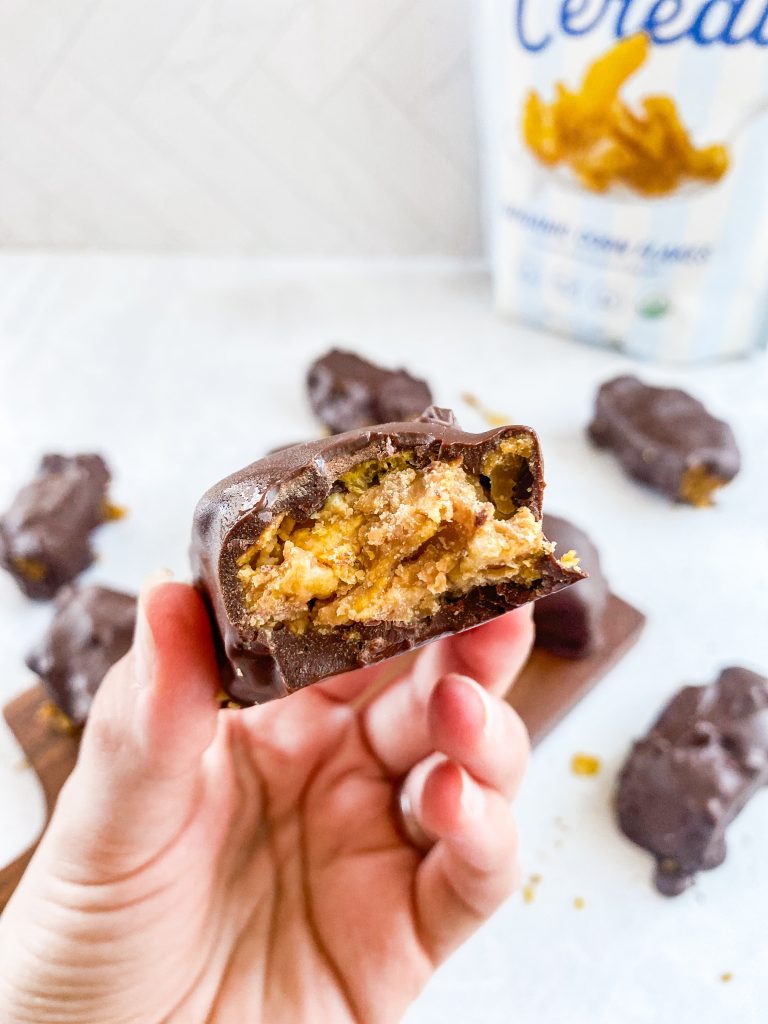
If you are a huge fan of the Halloween candy Butterfingers, now you can make it at home!! It requires only three ingredients and can be made in minutes! These homemade butterfingers are the perfect combo of crunch of creamy chocolatey goodness.
Why You Will Love This Recipe:
- Pure Homemade Goodness: Making Butterfingers at home allows you to use quality ingredients and eliminate additives. You’ll know exactly what goes into your candy, ensuring a pure and delicious treat.
- Irresistible Flavor: The blend of smooth, peanut buttery goodness with the sweetness of milk chocolate is a timeless flavor combination. Each bite provides a mouthwatering experience.
- Fun and Creative: Crafting your Butterfingers is not just a culinary task; it’s a creative process. You can experiment with different shapes, sizes, or even add extra ingredients like crushed peanuts for added crunch.
- Nostalgic Treat: For those who grew up enjoying Butterfingers, this homemade version brings back cherished memories. Share the joy with family and friends, creating a shared sense of nostalgia.
How to Make Homemade Butterfingers
- Prepare a Baking Dish: Grease an 8×8-inch baking dish or line it with parchment paper. Set it aside.
- Melt Peanut Butter: In a microwave-safe bowl, heat the peanut butter for about 30 seconds until it’s soft and easy to mix.
- Mix with Cornflakes: In a large mixing bowl, combine the softened peanut butter and cornflakes. Gently stir until the cornflakes are coated with peanut butter.
- Press into the Baking Dish: Transfer the cornflake and peanut butter mixture into the prepared baking dish. Use a spatula or your hands to press it down into an even layer. Let it cool and set at room temperature for about 30 minutes.
- Cut into Bars: Once the mixture has set, cut it into bars or bite-sized pieces, whichever you prefer. You can use a sharp knife or a cookie cutter for fun shapes.
- Melt Chocolate: In a microwave-safe bowl, melt the milk chocolate in 30-second intervals, stirring after each, until it’s smooth and fully melted.
- Coat Bars: Dip each cornflake and peanut butter bar into the melted chocolate, ensuring it’s fully coated. Allow any excess chocolate to drip off.
- Place on Parchment Paper: Place the chocolate-coated bars on a parchment paper-lined tray or dish.
- Cool and Set: Let the chocolate-coated bars cool and set at room temperature until the chocolate hardens, which typically takes about 30 minutes. You can also speed up this process by placing them in the refrigerator.
- Serve and Enjoy: Once the homemade cornflake Butterfingers have set, they are ready to be enjoyed.
FAQs:
Q1: How should I store homemade Butterfingers?
A2: Store your homemade Butterfingers in an airtight container at room temperature for up to a week. If you want to keep them longer, you can refrigerate them for several weeks or even freeze them for a few months. Ensure they are well wrapped to prevent moisture and odors from affecting their flavor.
Q2: Can I make these Butterfingers with dark chocolate?
A3: Absolutely! You can use dark chocolate instead of milk chocolate if you prefer a richer, slightly bitter taste. This allows for a delightful contrast with the sweet and creamy peanut butter filling.
Q3: Can I add extra ingredients to the peanut butter mixture?
A4: Certainly! You can get creative and add extras like crushed peanuts, almond pieces, or even a sprinkle of sea salt to the peanut butter mixture. These additions will elevate the flavor and texture of your homemade Butterfingers.
More Recipes like this:
- Homemade Crunch Bars
- S’mores Chocolate Bites
- Protein Ice Cream Caramel Bites
- Healthy Chocolate Candy Bars (Vegan & GF)
- Healthy Air Fryer Churro Bites
If you make these Homemade Butterfingers, I would really appreciate a comment and rating down below, under the recipe card. Don’t forget to take a picture and tag me over on Instagram, Tik Tok, or Pinterest. For more ideas, check out my Fall Recipes page.
Homemade Butterfingers
Ingredients
- 4 cups cornflakes
- 1 1/2 cup creamy peanut butter
- 16 oz chocolate
Instructions
- Prepare a Baking Dish: Grease an 8×8-inch baking dish or line it with parchment paper. Set it aside.
- Melt Peanut Butter: In a microwave-safe bowl, heat the peanut butter for about 30 seconds until it's soft and easy to mix.
- Mix with Cornflakes: In a large mixing bowl, combine the softened peanut butter and cornflakes. Gently stir until the cornflakes are coated with peanut butter.
- Press into the Baking Dish: Transfer the cornflake and peanut butter mixture into the prepared baking dish. Use a spatula or your hands to press it down into an even layer. Let it cool and set at room temperature for about 30 minutes.
- Cut into Bars: Once the mixture has set, cut it into bars or bite-sized pieces, whichever you prefer. You can use a sharp knife or a cookie cutter for fun shapes.
- Melt Chocolate: In a microwave-safe bowl, melt the milk chocolate in 30-second intervals, stirring after each, until it's smooth and fully melted.
- Coat Bars: Dip each cornflake and peanut butter bar into the melted chocolate, ensuring it's fully coated. Allow any excess chocolate to drip off.
- Place on Parchment Paper: Place the chocolate-coated bars on a parchment paper-lined tray or dish.
- Cool and Set: Let the chocolate-coated bars cool and set at room temperature until the chocolate hardens, which typically takes about 30 minutes. You can also speed up this process by placing them in the refrigerator.
- Serve and Enjoy: Once the homemade cornflake Butterfingers have set, they are ready to be enjoyed.

